PROGRESS LOG
Summer 2019


Water Testing
07/16/19
Tested water samples gathered from Clear Lake and the pond using the boat using a water test kit. Repeated test using water gathered by hand from the same spot. Results were as expected
Clear Lake Test
07/16/19
Took the boat out to Clear Lake to test for proper range on the boat controls and tested the pump system which successfully gathered a water sample.

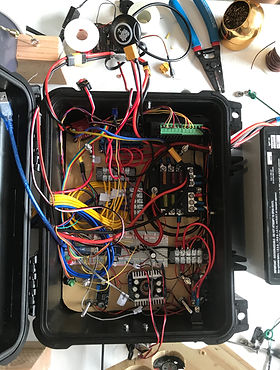
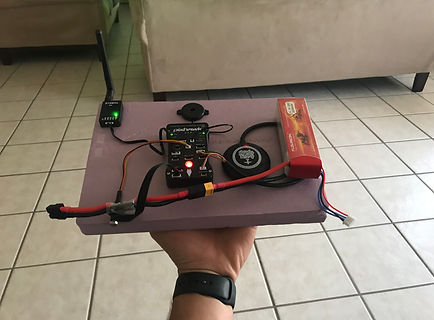
Electronics' Box
07/15/19
Rewired and replace electronics properly inside the box. Replaced 8 relay board with a 4 relay board. Added second Arduino for data logging and secured the Pixhawk to an acrylic board on lid.

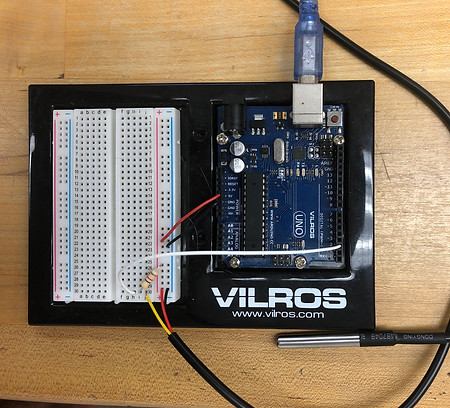
Temperature Sensor
07/10/19
Wrote code to set up the temperature sensor to be deployed by the intake hose so that it can gather temperature data from the lake. Successfully recorded temperature test data.

Wet Test of Pump System
07/09/19
Tested the boat's pump system to a quarter fill of the tank (about 15 seconds). Successfully ran the three fill and drain cycles to rinse the tank followed by the last fill to bring back to the operator for collection and testing.
First Wet Test
07/09/19
Tested the boat's steering and propulsion in a pond. Everything worked properly according to our expectations. Had to cover the electronics box with a plastic bag because of the intense rain.

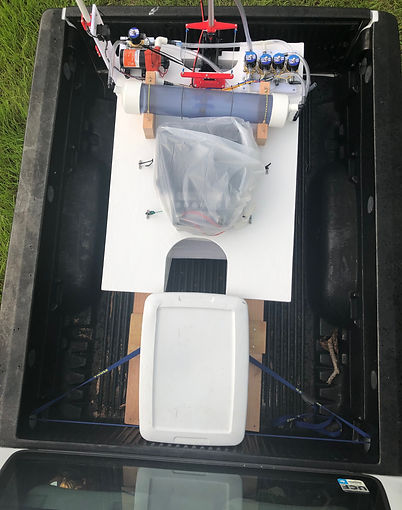
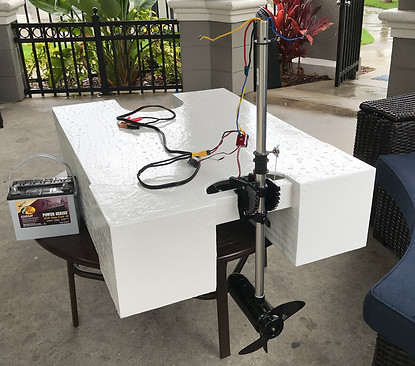
Ensured boat fits on truck of bed, transported to pond
07/09/19
Ensured that the boat and its wooden transport fit on the truck bed to ensure the current truck from Orlando Storm-water department would be able to fit it. Transported the boat to a nearby pond to perform the first full test of steering, propulsion and pump system.

Finished installing electronic performed dry test of system
07/08/19
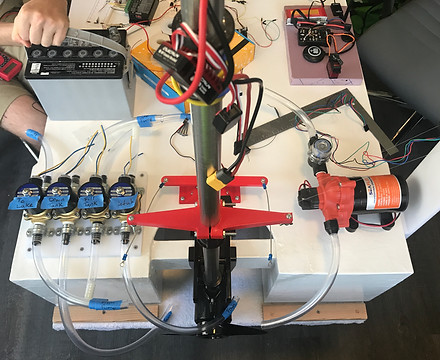
The circuitry for the pump intake and the valve system was set up inside the electronics box. Added a fuse box for safety and a relay board to activate the pump and valves. Installed the speed controller and Arduino control system. Tested the pump system dry.

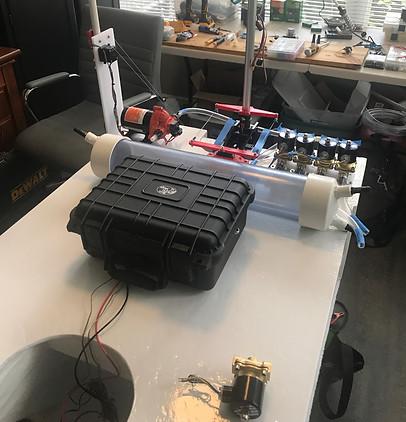
Component Placement
06/28/19
Worked on placing more components on the boat and finished installing all components of the water tank. Decided to place the electronics box in front of the tank and the battery in front of it for better balancing of the boat.
Finished Setting up Intake, Tested Propulsion and Steering
06/25/19
The circuitry for the pump intake and the valve system was built and the code for it was tested. The steering and propulsion of the boat was set up and tested together dry.
Re-calibrated Pixhawk, Installed Intake and Valves
06/24/19
The intake system and valves was installed on the boat and secured to an acrylic board for added stability. The pixhawk was successfully re-calibrated and no more errors were found.
Set Up Intake System and Installed Steering
06/21/19
The steering servo was mounted on a 3D printed plastic base which was secured to the boat. A long plastic extension was connected to the top of the servo so it rotates. Wires connect said extension to the trolling motor so it can steer.
An acrylic board was used to set up the belt and pulley system for the intake of the boat.

Mounted Motor and Performed First Wet Test
06/17/19
Mounted the trolling motor on the boat and connected all needed controllers. The boat successfully traveled at the designated speed and had the expected levels of buoyancy.
Assembled and Tested Propulsion System
06/17/19
Tested different power outputs to the trolling motor only using two of the four cables and successfully Connected the ESC to the trolling motor and using an RC receiver we were able to control the speed of the motor.
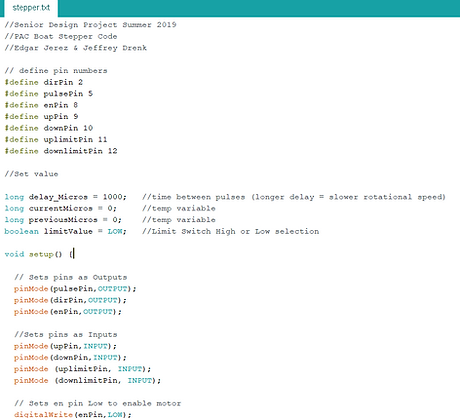
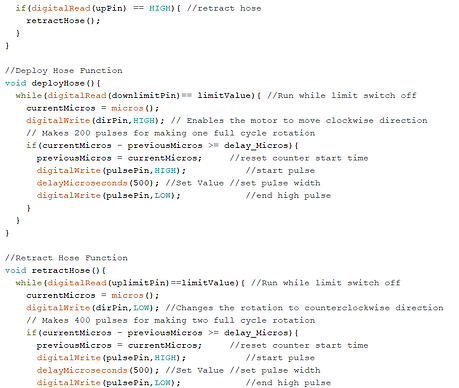
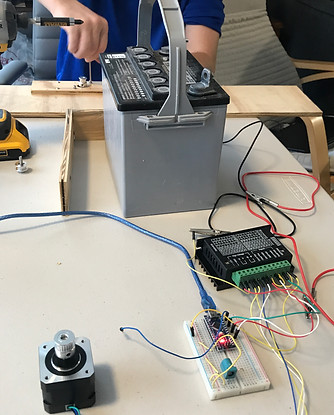
Tested Hose Deployment System
06/11/19
Hooked up the stepper motor to a plywood test case and connected the threaded belt to the deployment hose. Limit switches were placed so that when the hose reached a desired signal the stepper motor would stop movement until it was given a signal to retract or deploy. Below is the code used to control the stepper motor through an Arduino Nano micro controller.
Added Paint to Boat
06/10/19
Boat was sanded and primed, a first layer of Top-Side boat paint was added to the entire boat for an improved look and better protection from the elements.
Testing the Valves and Pump
06/07/19
The valves, pump and relay box were secured onto a plywood board and hooked up with hoses to test the pump system. A 5 gallon tank was filled with water and the pump was run with two of the valves opening when signaled. Water was successfully drawn and expelled through the proper hoses.
Initial Testing Hose Deployment
06/11/19
Set up the stepper motor with the belt connected to the hose and by giving signals to the nano to up and down we were able to control the deployment hose successfully.
Fiberglassing
05/28/19
The first layer of fiberglass was added to the top of the pontoon for increased stability, buoyancy, and to ultimately create one uniform boat that can be painted and sanded down evenly.

Calibrating the Pixhawk
05/28/19
The Pixhawk and all sensors were connected and set up for initial calibration of the GPS, magnetometer, accelerometer and other sensors. The MIssion Planner interface was installed and paired with the Pixhawk, proper firmware was installed. Telemetry and RC controls were tested.
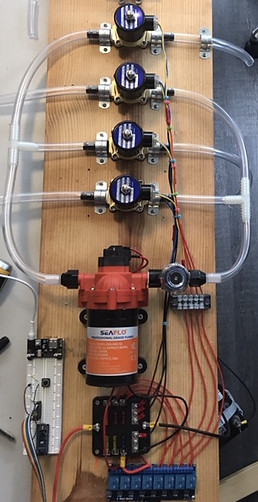
Controlling the Valves and Pump
06/03/19
The Arduino Uno and relay board were tested with the valves. The valves draw less than 3 amps each. Two valves will be placed on one relay for filling the tank and two valves will be on another relay for flushing the tank. The fifth valve will need its own relay as well as the pump. The four relay board displayed below has one bad relay and a replacement was ordered. The relays require more current than the Uno can supply so a separate voltage source will be used via a 5 V regulator.


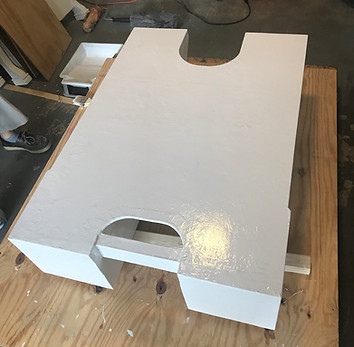
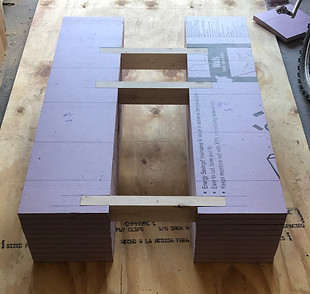
Adding Plywood to Pontoons and Painting Foam
05/24/19
A layer of plywood was added to the top as the platform linking both pontoons on an H shape. Plywood as also added along the front bottom and back of each pontoon. The foam parts of the pontoons which remain uncovered were painted with six layers to support the resin.
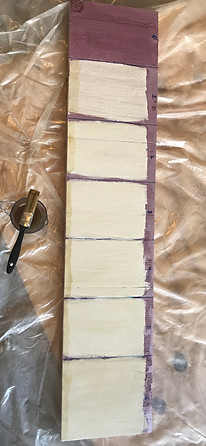
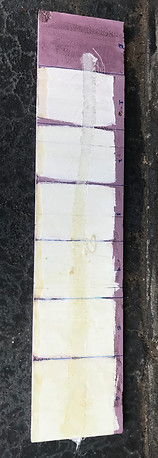
Testing Resin
05/20/19
Different layers of paint and resin were tested to find out how many layers we need to protect the foam from deforming as the resin cures, the verdict was six layers.
Adding 2/4s and Cutting Plywood
05/21/19
Cut up three 2/4 to serve as a bridge between pontoons and to add more support and stability. Front two will serve as support for the heaviest part, the battery. Back one will support the trolling motor. In addition, plywood to cover the pontoons was cut into size.

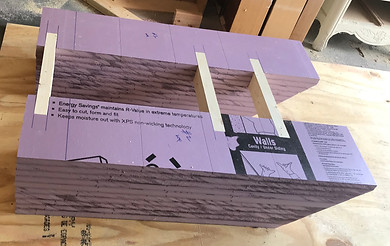
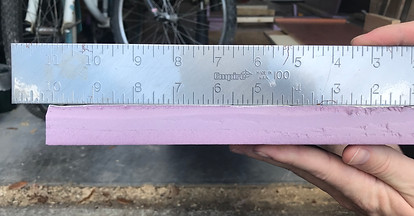
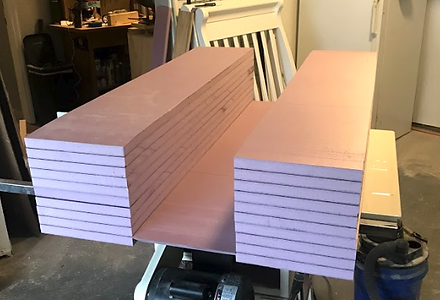
Starting on the Hull
05/13/19
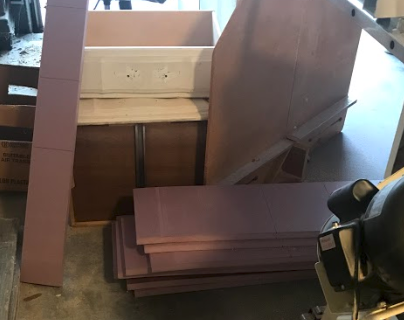

The foam insulation board was purchased from Home Depot and cut into 10 inch strips. The strips were stacked to form the pontoon's general shape.
One end of each strip was then cut at 45 degrees to a face to stack up for the pontoon ramps.
Before it got too late, the size of the boat was re-evaluated. When the foam was stacked up and the general size could be seen, the hull seemed too big. The weight values were then double checked after another round of calculations.
Hardware Store Meeting
05/02/19
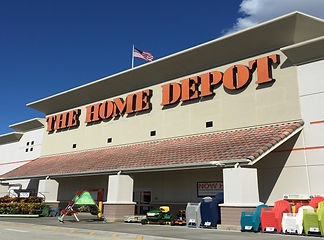
The first meeting for Senior Design was at the local Home Depot. This was the first batch of buying parts locally and the shared responsibility of buying parts online was established.
The PVC parts were bought locally while all of the electronics were purchased online. Fiberglass was expected to be available locally but it was not. Research was needed to find the appropriate fiberglass and resin.
The First Parts Arrive
05/09/19
The first online order arrived. Some parts were delayed but the majority of the order was delivered. After opening all boxes and inspecting all parts for damage or defects, the water tank, PVC parts, and valves were laid out to get an idea of how to arrange them on the boat.
The parts that were delayed included the 3-way valves. In their place, 3 more 2-way valves were purchased. This simplifies the water sample code slightly. From top to bottom, right to left, the valves are labelled as follows: spill over, flush, fill, drain, and draw.
The PVC was expected to be more clear but the tint was a requirement because it protects the PVC and its contents from UV light.
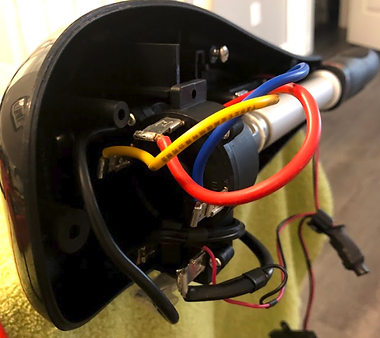

The motor and deep cycle battery were purchased from Bass Pro Shops. After testing that the motor works, the head of the motor was taken apart to isolate the motor wires. Upon inspection, there were five wires in total and their purpose was unclear. After some research it was decided that either a stepper motor or servo would operate the included speed controller instead of using an RC speed controller.
Pump System
04/09/19
The sample gathering system for the boat will consist of a single pump connected to two electronically activated 3-way valves. By changing the direction of the valves’ flow we can either fill or empty the container. In the following image we can see a diagram of the pump’s system operation. The bottom valve determines whether the water is pulled from the lake or the container. The top valve regulates the flow into the container or back into the lake. A 2-way valve is placed at the top right end of the container to release any excess water; it remains closed once the sample is gathered.
Pump System Requirement
04/02/19
In order to conduct the necessary laboratory tests on the lake water, a sample of 4.75 liters must be gathered from twelve inches beneath the surface and as close as possible to the center of the lake. The sample gathered must be uncontaminated from lake to lake and free from outside contamination. To achieve this, a homogeneous state must be created inside the container by rinsing it a minimum of three times with the lake water to be sampled.
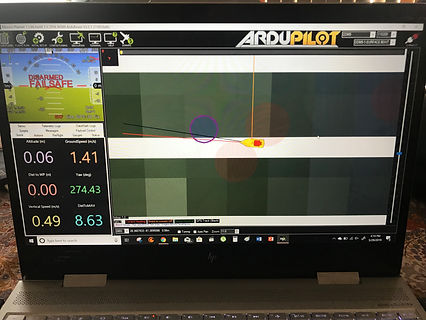
Ardupilot
03/29/19
The ground station controlling program needed to interface with the Pixhawk and ArduPilot is called Mission Planner. Mission Planner can be used as a configuration utility or as a dynamic control supplement for autonomous vehicles. It allows the user to plan, save and load autonomous missions into the Pixhawk with a simple point-and-click waypoint entry on Google maps, or other map resource equipped with coordinate data.
Data Gathering Specifics
03/22/19
In addition to testing the water sample in a lab for its chemical composition, the City of Orlando also tests the lake water on-site for temperature, conductivity, dissolved oxygen, pH level and turbidity. A multi-parameter sonde is used to conduct all of these tests. Since this piece of equipment would more than double the budget for the project, the goal is not to buy it, but instead set up an interface with the department’s existing equipment so that it can be loaded on the boat as an add-on attachment.
Autopilot and data gatherig
03/12/19
As a requirement the boat in this project must be autonomous and gather temperature data from the lake. To achieve this we will install a Pixhawk controller board which will serve as the autopilot and main mobility controller of the system. A Raspberry Pi will drive the data gathering sensors and mechanical operations of the boat.
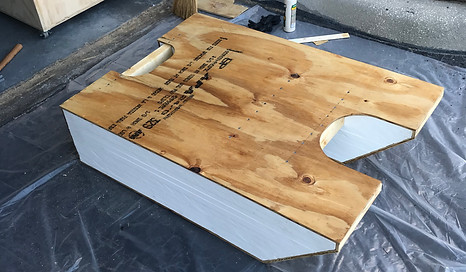
Boat Frame Construction
03/06/19
Researched materials to use in the building process. After exploring several options such as wood, plastic or prebuilt parts; We decided to build the boat’s frame out of closed-cell Foam Insulation Board with a fiberglass coating to ensure stability and strength. It will house a waterproof box with the electrical components of the system.